Art Interrupted: How Distractions Can Fuel Your Creativity
/
A sitting area transformed by The Obstacle Is The Way, 15” x 11” x 0.1” Acrylic on Canvas, © Deb Chaney Prints available on Saatchi Gallery.
How to turn interruptions into symbols of progress in your art practice
Noise. Delays. Unexpected chaos.
Whether it’s construction outside your studio, interruptions at home, or emotional noise inside your own mind—it can all feel like a threat to your creative flow.
But what if disruption isn’t a block?
What if it’s a trigger for transformation?
Lately, I’ve been experimenting with a simple mindset shift. Instead of letting interruptions pull me away, I assign them meaning.
A loud truck passing becomes the sound of one of my large paintings being delivered to a new collector.
The clatter of tools?
That’s the universe renovating my life for something better.
It’s a playful practice—but a powerful one. By choosing what the noise means, I stay rooted in creativity rather than thrown by distraction.
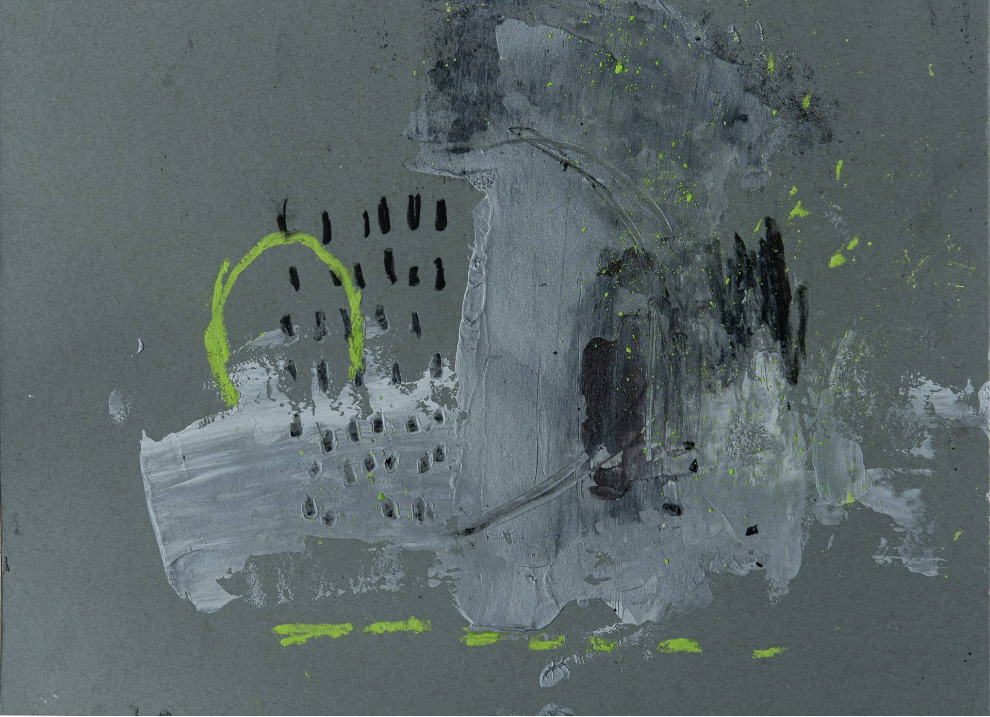
The Obstacle Is The Way, 15” x 11” x 0.1” Acrylic on Canvas, © Deb Chaney Prints available on Saatchi Gallery.
You can do this too.
When I hear a woodpecker, I’ve decided it means resistance is being gently pecked away.
When I clean my glasses, I tell myself I’m choosing to see through the lens of love and possibility.
We may not be able to control what happens around us, but we can control what it means. And sometimes, meaning is all it takes to turn an interruption into inspiration.
Take a moment to think about this: What’s one daily disruption you could reframe as a symbol of creative momentum?